Consent Manager
After a certain period, bank customers may need to view, update, or revoke consents they have granted to API consumer applications to access account data. Consent Manager is an application in WSO2 Open Banking that supports all these requirements and manages consents.
Note
- Bank officers with the
CustomerCareOfficerRolerole and bank customers can access the Consent Manager. - Customer Care Officers have privileges such as Advanced Search options and the ability to view the consents of all bank customers.
Configuring servers
-
Open the
<IS_HOME>/repository/conf/deployment.tomlfile and update access control configurations for theconsentmgrresource as follows:[[resource.access_control]] context = "(.*)/consentmgr(.*)" secure="false" http_method="GET,DELETE" -
Open the
<APIM_HOME>/repository/conf/deployment.tomlfile and add the following gateway executor configurations for the Consent flow:[[open_banking.gateway.openbanking_gateway_executors.type]] name = "Consent" [[open_banking.gateway.openbanking_gateway_executors.type.executors]] name = "com.wso2.openbanking.accelerator.gateway.executor.impl.selfcare.portal.UserPermissionValidationExecutor" priority = 1 -
Restart the Identity Server and API Manager servers respectively.
Creating users and roles
Follow Configuring users and roles and do the following:
-
Create a user and assign the
CustomerCareOfficerRolerole. -
Create 2 other users and assign them only the
Internal/subscriberrole.
Publishing Self-Care Portal API
-
Sign in to the API Publisher Portal at
https://<APIM_HOST>:9443/publisherwithcreator/publisherprivileges. -
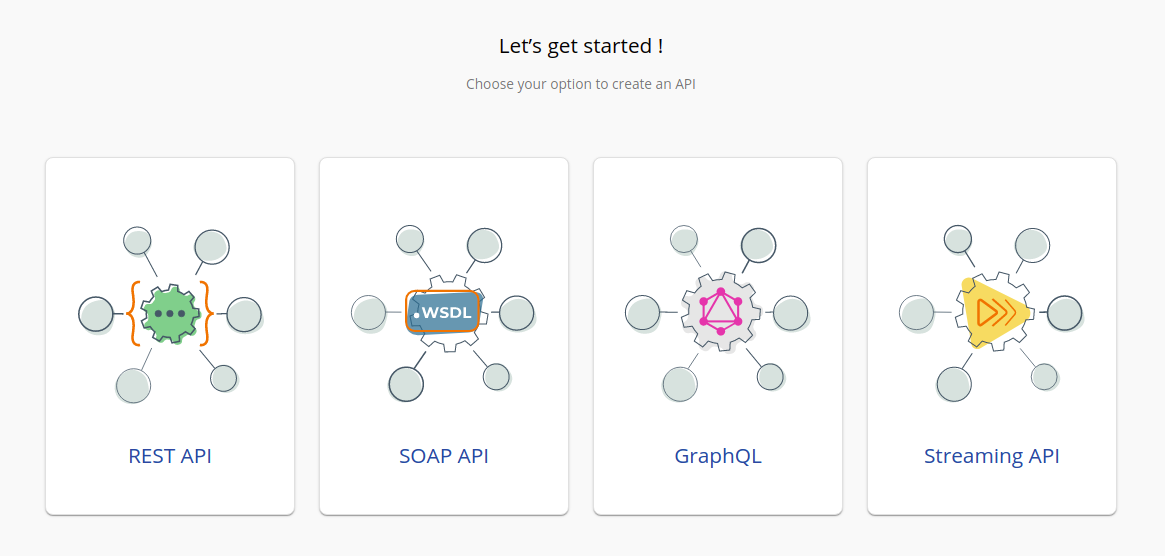
On the homepage, go to REST API and select Import Open API.
-
Select OpenAPI File/Archive.
-
Download the
scp-swagger.yamlfile available here . -
Click Browse File to Upload and use the
scp-swagger.yamlfile. -
Click Next.
-
Set the value for Endpoint as follows:
https://<IS_HOST>:9446/api/openbanking/consent- Replace the placeholder with the hostname of Identity Server.
-
Click Create.
-
Go to Portal Configurations > Subscriptions > Select Business Plan as 'Unlimited' using the left menu pane.
-
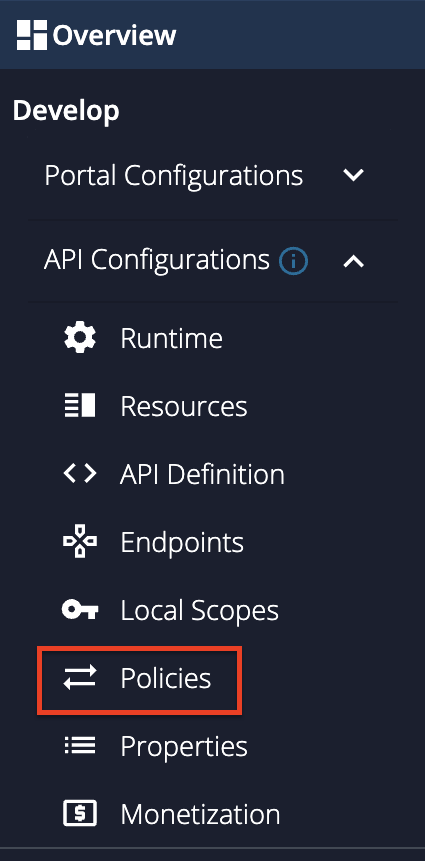
Go to Develop -> API Configurations -> Policies in the left menu pane.
-
Go to Develop -> API Configurations -> Policies in the left menu pane.
-
On the Policy List card, click on Add New Policy.
-
Fill in the Create New Policy.
-
Download the
scp-insequence.xmlfile available here and use it as the Mediation Policy. -
Upload the
scp-insequence.xmlfile and click SELECT. -
Scroll down and click Save. Upon successful creation of the policy, you receive an alert as shown below:

-
Expand the API endpoint you want from the list of API endpoints.
-
Expand the HTTP method from the API endpoint you selected.
-
Drag and drop the previously created policy to the Request Flow of the API endpoint. For example,
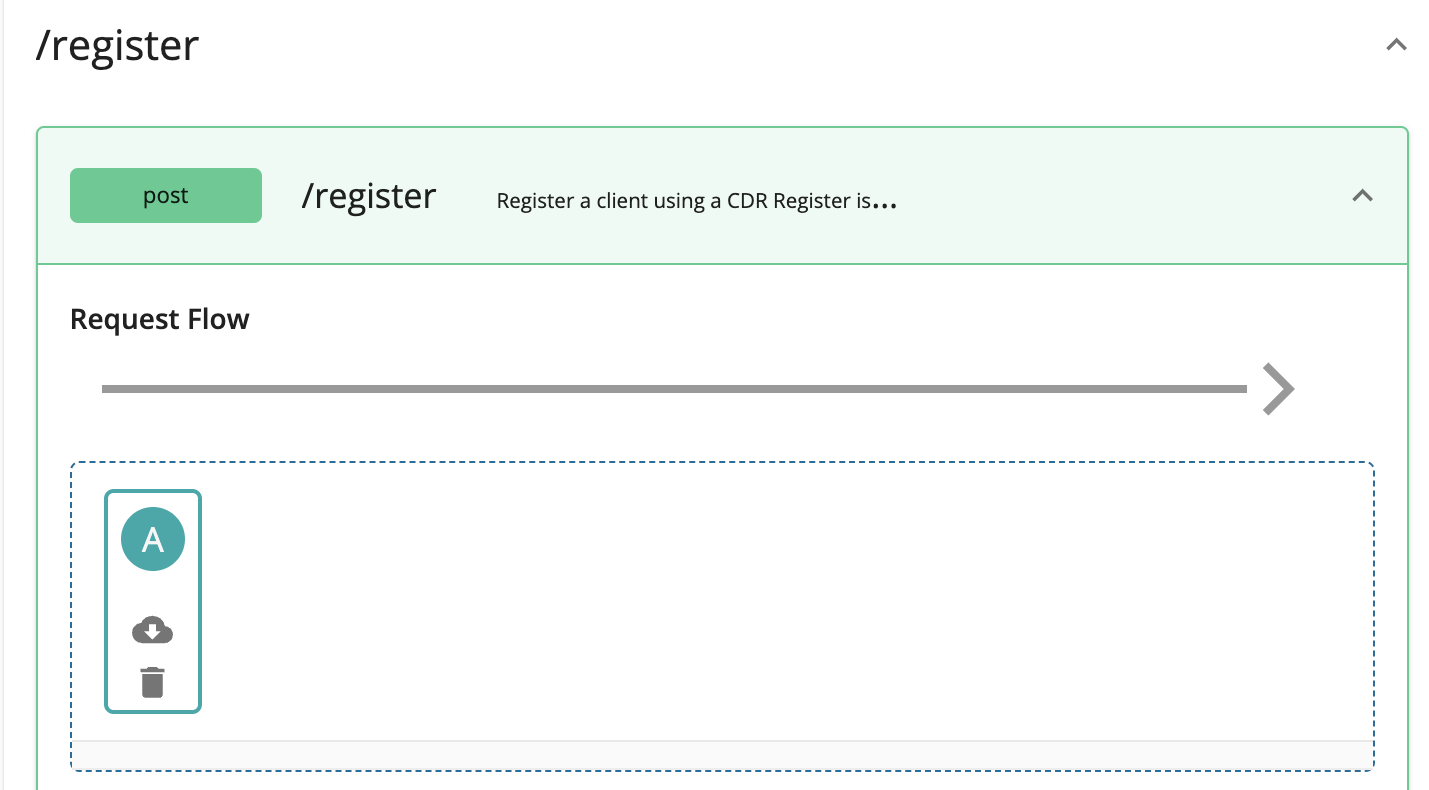
-
Select Apply to all resources and click Save.
-
Scroll down and click Save.
-
Go to Overview using the left menu pane.
-
Click Deploy.
-
Set the API Gateways configurations and deploy the API.
-
Go back to Overview.
-
Click Publish.
Subscribing to Self-Care Portal API
-
Sign in to the Developer Portal at
https://<APIM_HOST>:9443/devportalwithInternal/subscriberprivileges. -
Go to the Applications tab and click ADD NEW APPLICATION.

-
Enter
consentmgras the name of the application and click Save.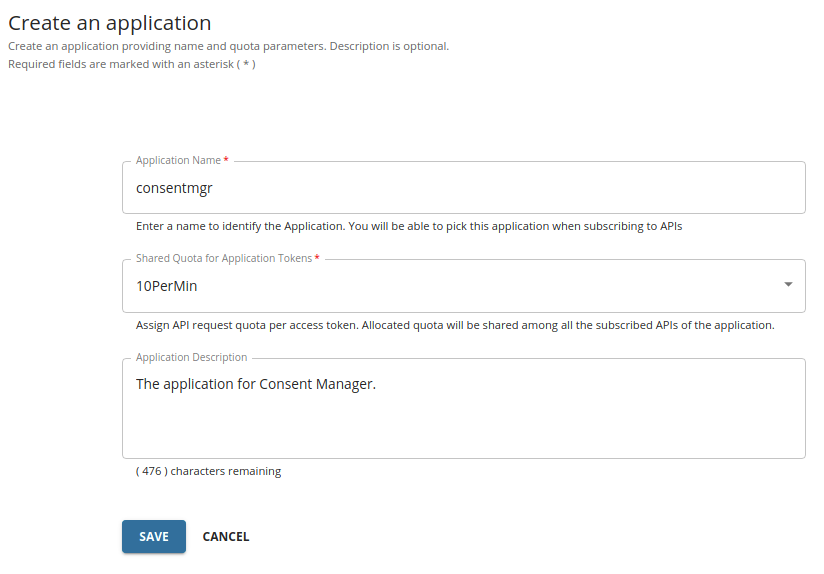
-
Go to the left menu pane and select Production Keys or Sandbox Keys to generate keys.
-
Set the Grant Types to Refresh Token and Code.

If these grant types are not visible in the Developer Portal, click here to see how to configure them.
Follow the steps below and configure the Grant Types for the Key Manager according to your Open Banking specification:
-
Sign in to the Admin Portal of API Manager at
https://<APIM_HOST>:9443/admin. -
Go to the
Key Managerstab using the left menu pane. -
Select the OBKM key manager.
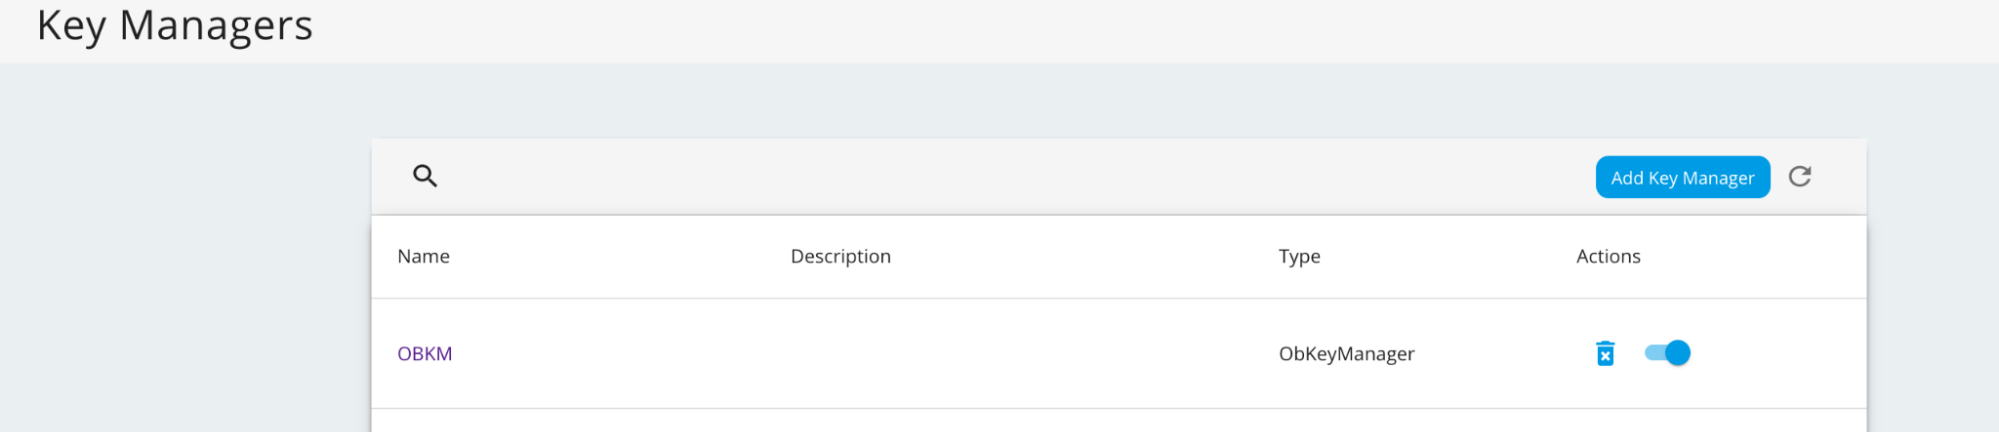
-
Enter the required grant types and press enter.

-
Scroll down and click Update.
For more information see, Configure Identity Server as the Key Manager.
-
-
Set the Callback URL to
https://<IS_HOST>:9446/consentmgr/scp_oauth2_callback.- Replace the placeholder with the hostname of the Identity Server.
-
Leave their default values for other configurations.
-
Scroll down and click GENERATE KEYS.
-
A message box will display the access token.
-
You can see that the consumer key and consumer secret are generated for the
consentmgrapplication. -
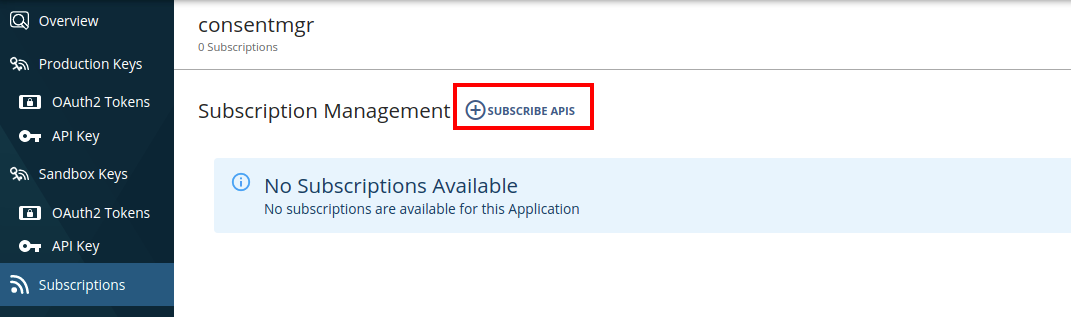
Now, go to the left menu pane and select Subscriptions.
-
Click SUBSCRIBE APIS.
-
Find the SelfCarePortalAPI from the list and click the Subscribe button corresponding to it.
-
If you are using WSO2 Identity Server 6.0.0, follow the below instructions:
-
Sign in to the Management Console at
https://<IS_HOST>:9446/carbon/. -
In the Main tab, click Identity -> Service Providers -> List.
-
Select the Service Provider of the
consentmgrapplication, and click the corresponding Edit icon. -
Expand the Claim Configuration section.
-
Select http://wso2.org/claims/username from the Subject Claim URI list.
-
Click Update to save the configurations.
-
Configuring Consent Manager
-
Open the
<IS_HOME>/repository/deployment/server/webapps/consentmgr/runtime-config.jsfile.-
Update the
SERVER_URLparameter with a URL to the Identity Server. For example:window.env = { // This option can be retrieved in "src/index.js" with "window.env.API_URL". SERVER_URL: 'https://<IS_HOST>:9446', TENANT_DOMAIN: 'carbon.super', NUMBER_OF_CONSENTS: 25, VERSION: '3.0.0' };
-
-
Open the
<IS_HOME>/repository/deployment/server/webapps/consentmgr/WEB-INF/web.xmlfile.Configuration Description identityServerBaseUrl The hostname of the Identity Server. apiManagerServerUrl The hostname of the API Manager. scpClientKey The Consumer Key of the application created. scpClientSecret The Consumer Secret of the application created. For example,
<context-param>
    <param-name>identityServerBaseUrl</param-name>
    <param-value>https://<IS_HOST>:9446</param-value>
</context-param>
<context-param>
    <param-name>apiManagerServerUrl</param-name>
    <param-value>https://<APIM_HOST>:8243</param-value>
</context-param>
<context-param>
    <param-name>scpClientKey</param-name>
    <param-value>2zB5s9wGHWVwmlrvHdWa6Mwc4vsa</param-value>
</context-param>
<context-param>
    <param-name>scpClientSecret</param-name>
    <param-value>cqblprasAniVfi02IXGFvp8VREAa</param-value>
</context-param>
Using Consent Manager
-
Go to the Consent Manager application at
https://<IS_HOST>:9446/consentmgr -
Sign in with the credentials provided by the bank.
-
The
consentmgrapplication requests access to your profile. To grant access, click Continue.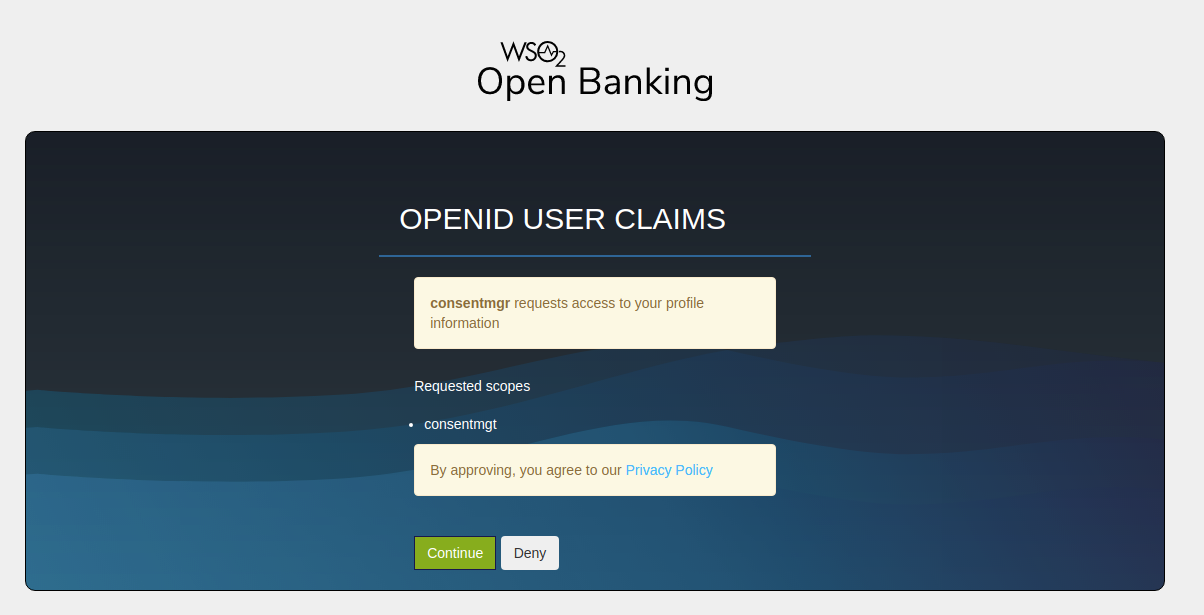
-
You are redirected to the homepage of the Consent Manager portal.
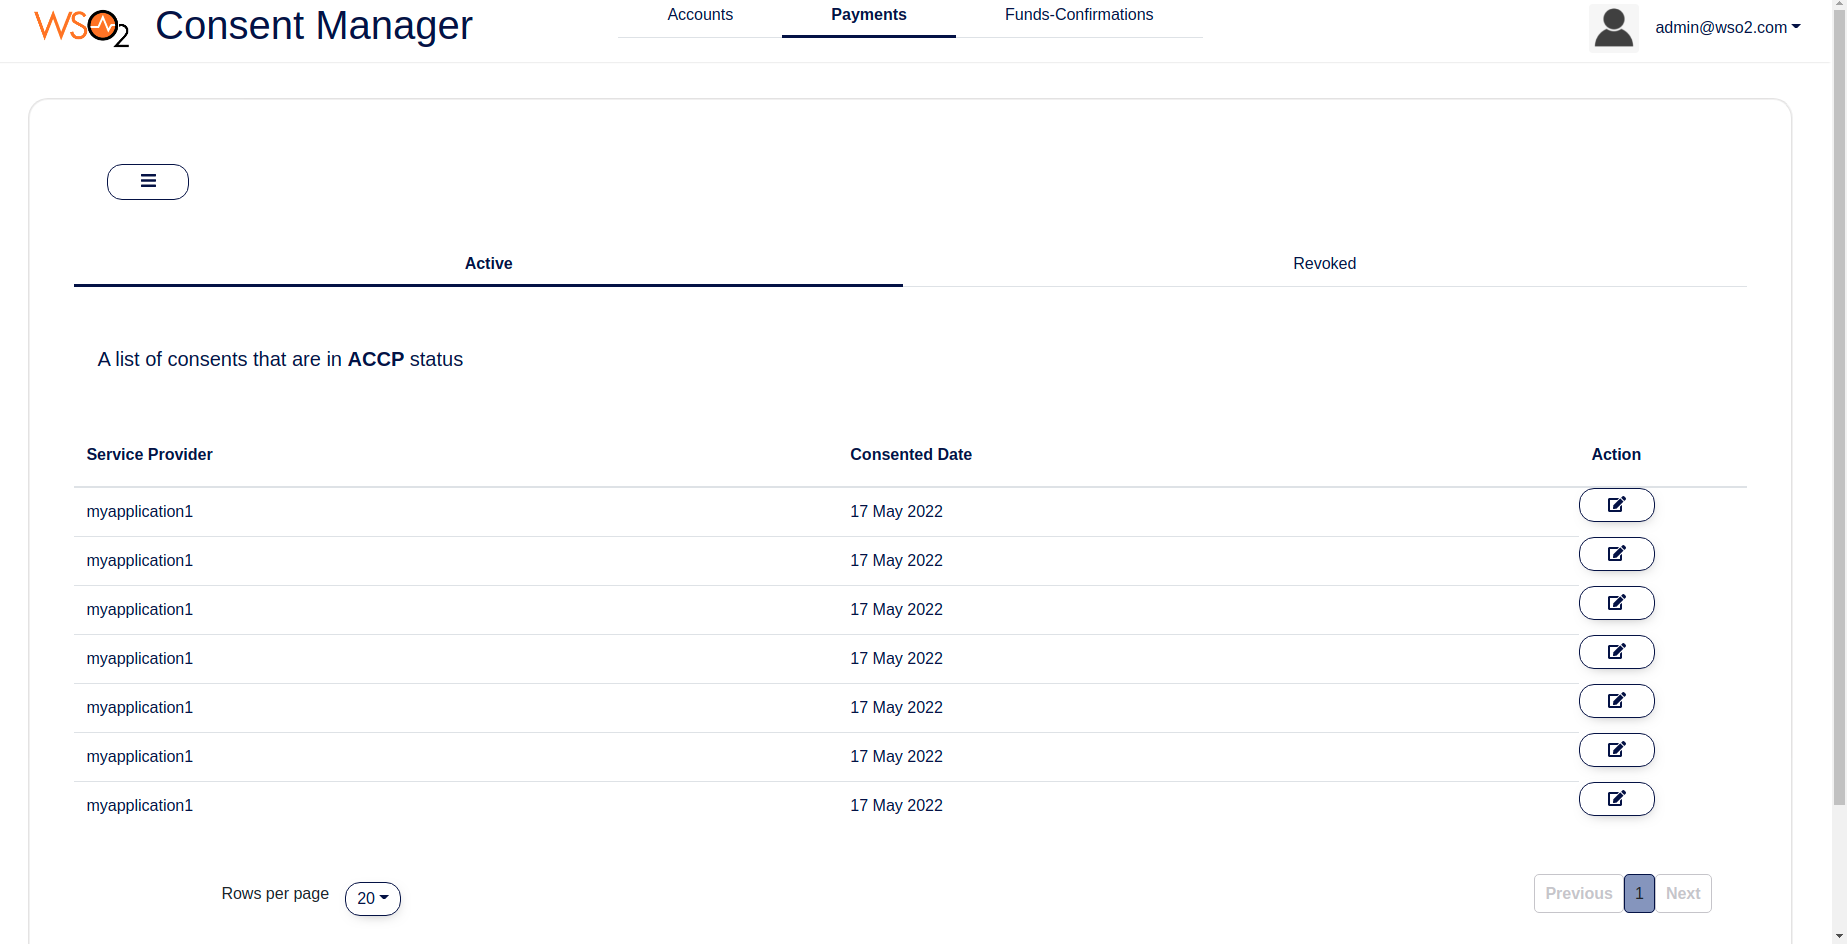
-
There three tabs for as Accounts, Payments and Funds Confirmations consents.
-
Under each consent type there are two tabs:
-
Active: Lists active consents that can access your account/payment information.
- Revoked: Lists the consents that you have revoked.
Tip
Use the Search button to search consents. 
Viewing consent details
-
To view consent details, click the respective
Actionbutton.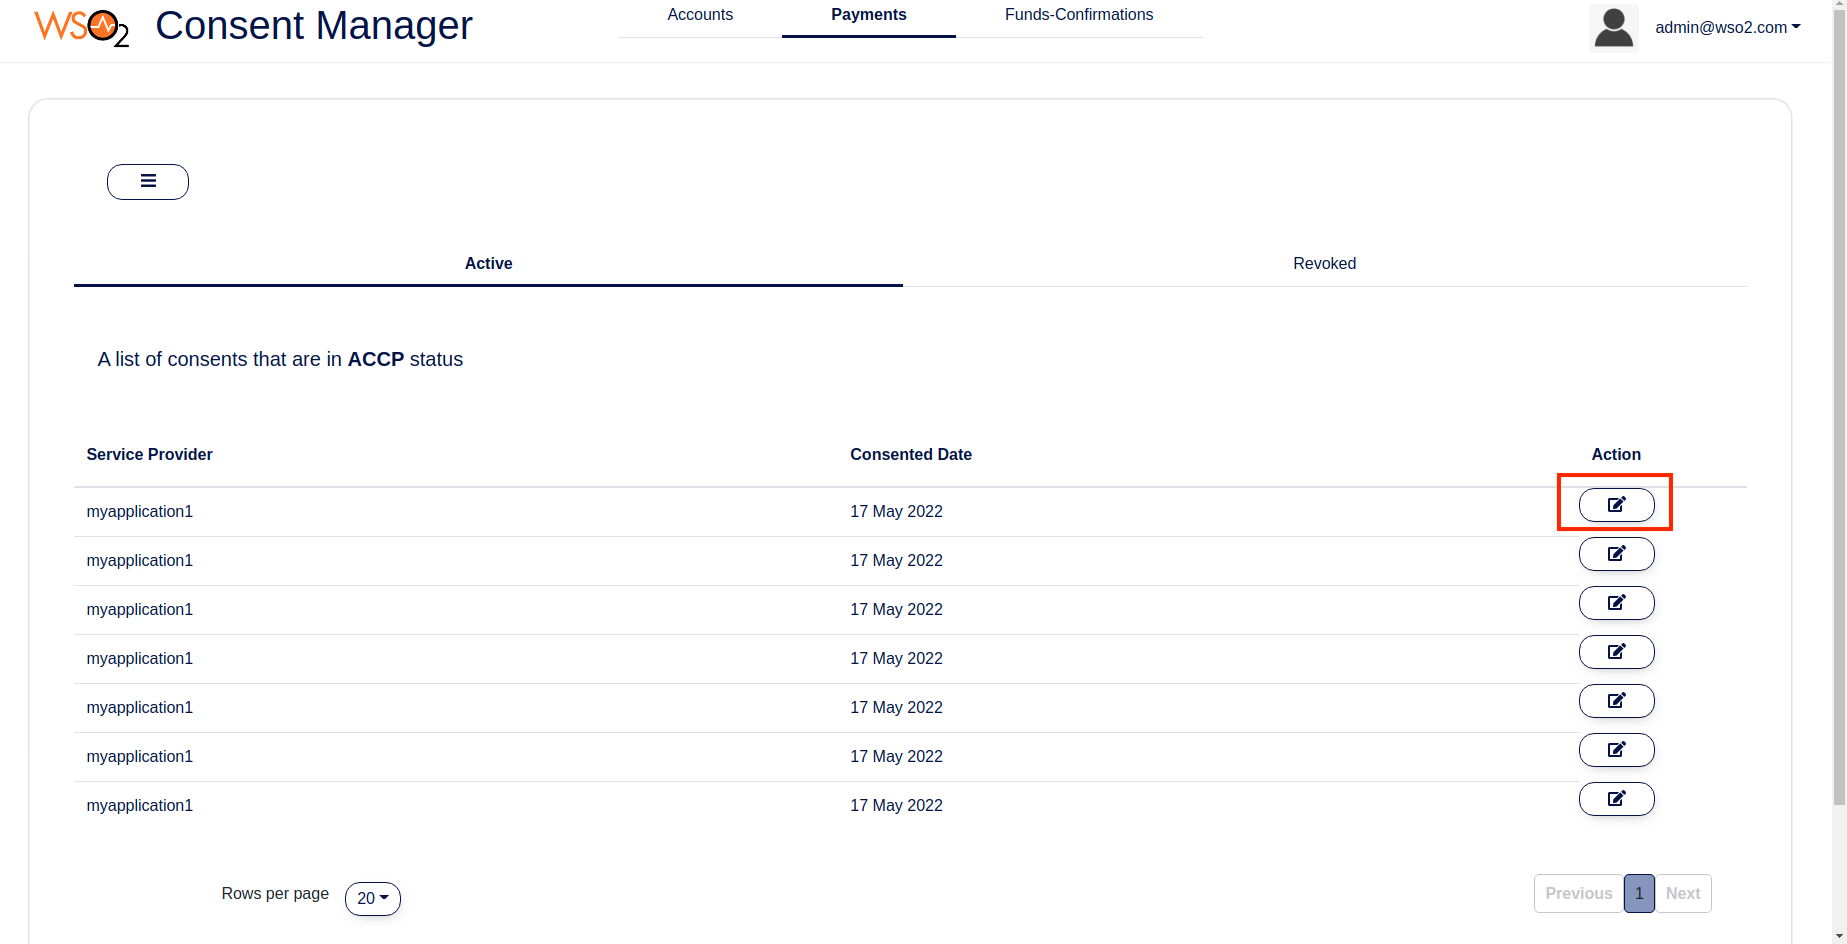
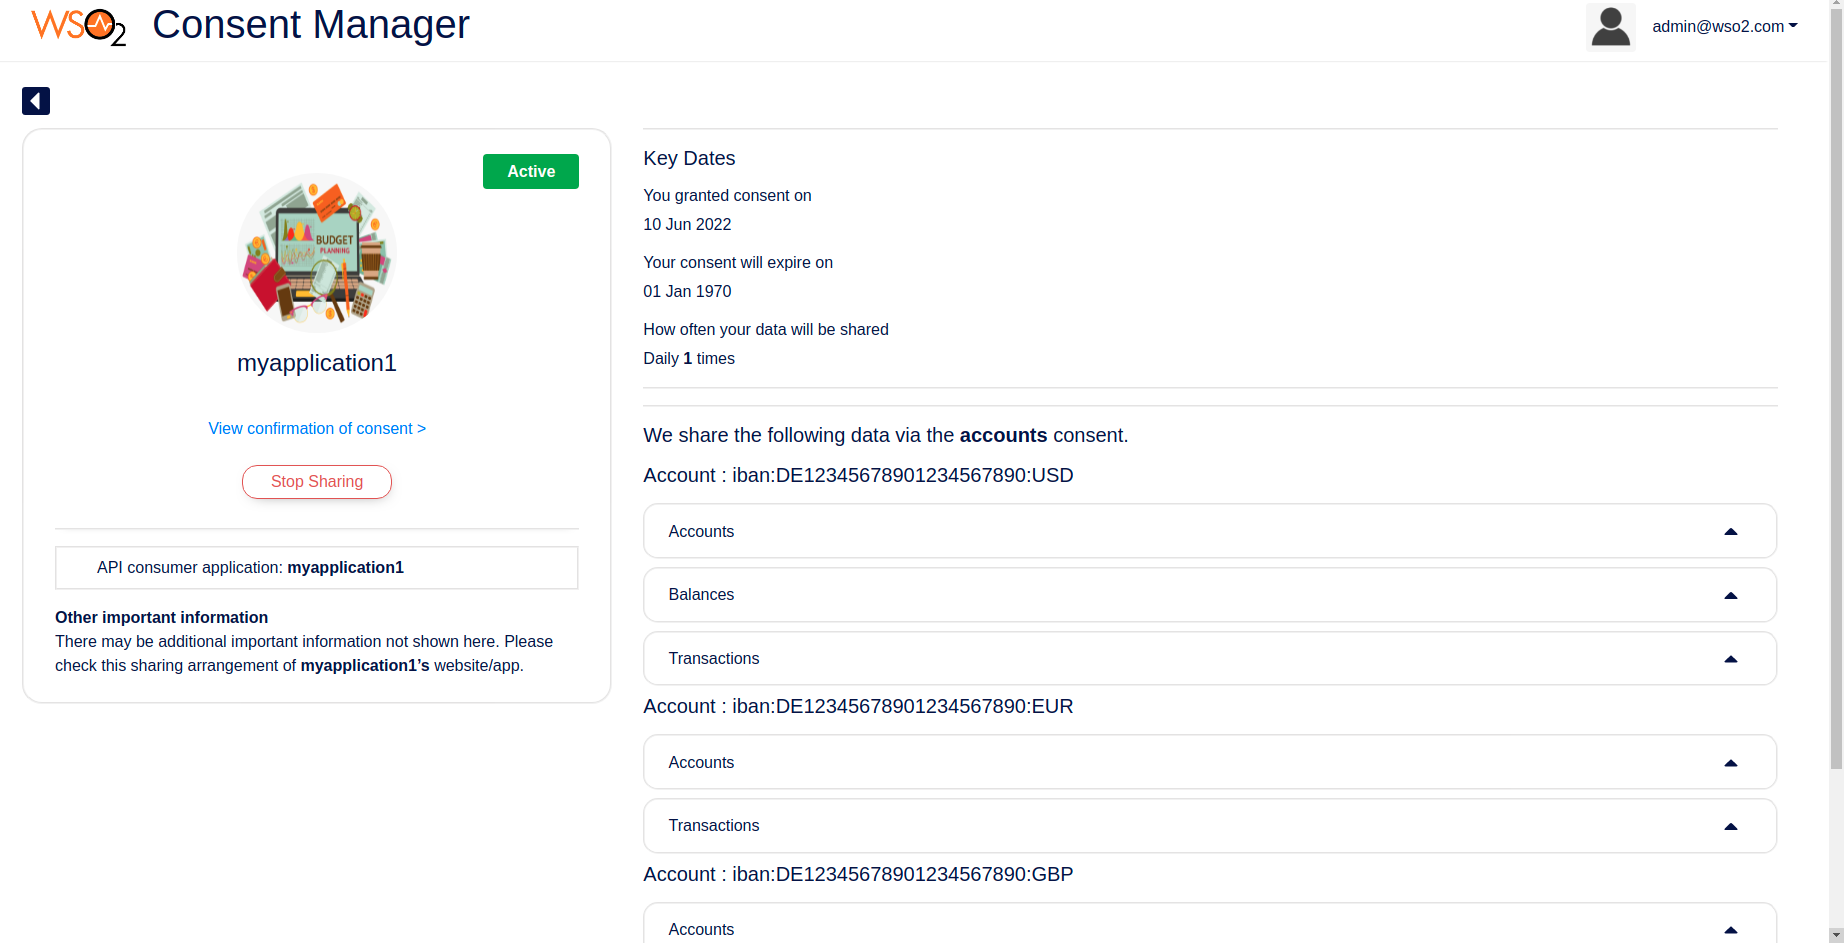
-
You can view the details such as the associated API consumer application, consent granted date, consent expiry date, account numbers, and permissions that you have granted.
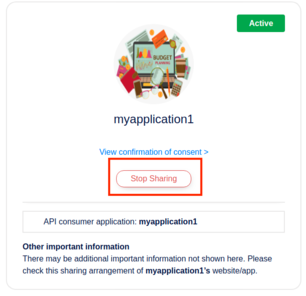
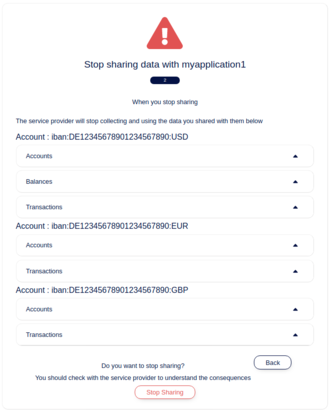
Revoking a consent
-
To revoke a consent, review the details and click Stop Sharing.
-
Revoking a consent consists of 2 steps:
-
Step 1: The first step shows the impact of revoking the consent.
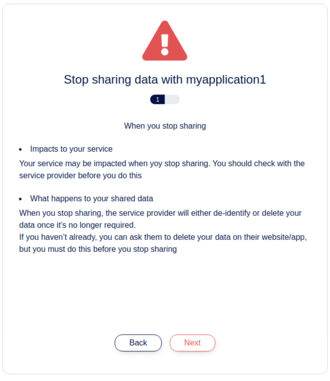
-
Step 2: Displays the information the consent has access to.
-
Once you click Stop Sharing, the status of the consent changes to
revoked.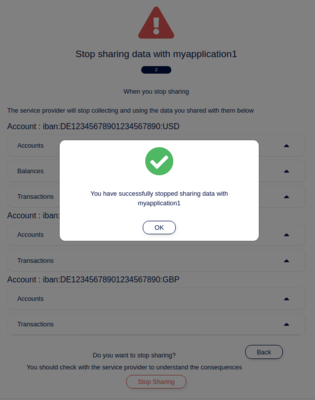
-
-
You can find this consent in the Revoked tab now.